
Door and Window Trim
Where the wall surface meets a door or window jamb, casing creates the finished border that conceals the transition.
Service
Before paint closes the visual gaps, look closely at a door opening: the casing should hold an even reveal, the narrow strip of jamb left visible around the frame, and meet the baseboard cleanly at the floor.
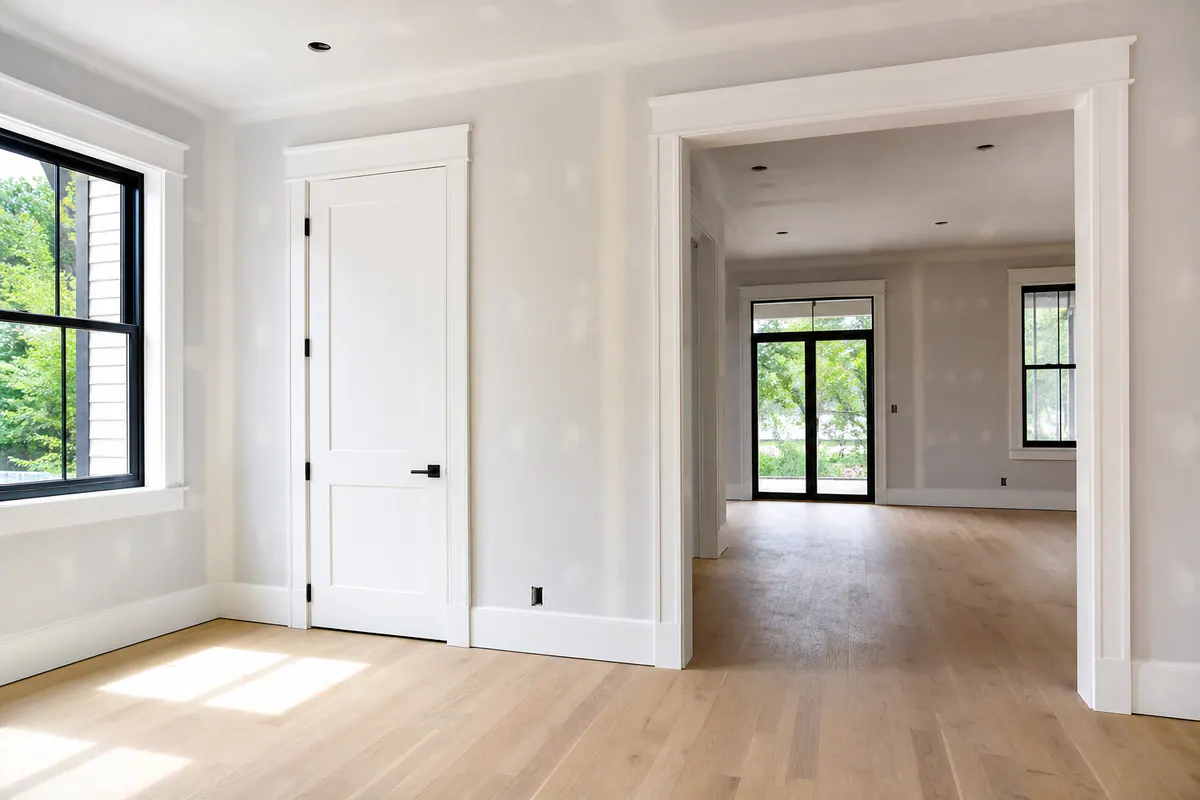
Before paint closes the visual gaps, look closely at a door opening: the casing should hold an even reveal, the narrow strip of jamb left visible around the frame, and meet the baseboard cleanly at the floor. Uneven reveals, shifting profiles between rooms, joints that open, or cabinet-side trim without proper clearance are details worth addressing while access is still straightforward.
The work is a customized finish-carpentry scope shaped around the home’s plans, selected materials, and the details that need to meet cleanly at the end of the build, not a pre-set bundle pulled from a shelf. The approved scope may cover door and window casing, baseboards, crown or other ceiling details, interior trim, and specialty features; exact rooms, materials, and upgrades depend on the project.
For custom homes, spec homes, and owner-builder projects, finish carpentry in new construction benefits from active coordination with the builder and adjacent trades. Installation is planned around drywall, flooring, cabinetry, hardware, and paint readiness rather than treated as a decorative afterthought. A pre-paint walkthrough gives the project team a focused chance to review alignment, joints, transitions, and missing details, followed by targeted punch-list completion. The result is trim that helps the finished home read as one considered design.
Room function often determines which details deserve the most attention. A residential trim package may include the practical finish pieces that frame openings, protect wall edges, and create a consistent visual line from one space to the next:
Architectural upgrades are selected when the plans and finish level call for more than the core scope. Options can include crown molding at ceilings, decorative wall panels or board-and-batten layouts, wainscoting, coffered or beam-style ceiling treatments, substantial cased openings, and built-up header details. Unlike standard casing or baseboards, these features intentionally create a focal point, add visual scale, or give a particular room a more formal character.
A useful way to make choices is room by room: main living areas may receive a more developed profile, while bedrooms, closets, utility spaces, and secondary halls may use a simpler treatment. The final new construction trim scope should account for the drawings, door and window sizes, cabinet locations, flooring selections, budget, and paint-ready finish level. That approach keeps upgrades purposeful instead of scattering mismatched details through the home.
Proportion is the useful filter when several trim styles appeal to you. A taller room can carry a deeper baseboard and wider casing because the added width gives the walls a visual foundation; the same combination in a low-ceilinged secondary room can feel unnecessarily heavy. Likewise, a substantial interior door or large window usually looks more intentional with trim that has enough presence to frame it, while slim openings often benefit from a restrained profile.
Look for continuity at the points where finishes meet. Casing should land cleanly beside cabinet fillers and backsplashes rather than crowding them, baseboards should resolve deliberately at flooring changes, and a feature wall layout should be centered on the room’s actual focal point, not just divided into equal-looking rectangles on paper. Uneven drywall can also affect how crisp long runs and panel layouts appear, so the selected detail should suit the wall conditions as well as the design.
The paint plan changes the effect, too. A single trim-and-wall color makes profile depth and shadow lines more important; a contrasting trim color makes joints, reveals, and transitions more noticeable. Before committing, compare the approved elevations, finish schedule, or trim drawings to door swings, window heights, cabinetry, and flooring samples so the details work together rather than competing.
A clear allowance for materials and labor helps separate must-have proportion upgrades from purely decorative additions. Spending selectively on the rooms visitors see most can produce a more composed result than applying multiple unrelated details throughout the house.
Trim installation becomes much easier to control when decisions are settled before materials arrive. The working scope should match the current plans, selected profiles, door and window details, and finish schedule, while the builder or project manager has a clear view of which rooms are ready. Drywall should be complete, major rough work out of the way, and openings reasonably stable before precise casing, baseboard, or panel details are fitted.
Trade handoffs matter because trim often meets another finished surface. Flooring height affects baseboard placement; cabinet installation determines where casing and fillers can land; tile edges may need a deliberate return or transition; and door hardware is best installed after the door, jamb, and surrounding trim are aligned. Coordinating these points early avoids a casing crowding a cabinet, a baseboard ending awkwardly at tile, or a detail being installed only to be removed for later work.
During new-build finish carpentry, the visible standard is established in the small details. Long baseboard runs should read straight even where walls vary, door and window casing should hold consistent reveals, the narrow, even line between the jamb and trim, and miter joints should close cleanly at outside corners. Inside corners may be coped, meaning one profile is cut to nest against the face of the other, which can create a tighter-looking connection than simply butting two angled cuts together. Scribing lets trim follow an uneven wall or floor rather than leaving a conspicuous gap.
Regular communication keeps these decisions from becoming last-minute fixes. The installer can flag an out-of-square opening, bowed wall, missing material, or cabinet conflict while the builder or project manager can coordinate the responsible trade and protect the finish sequence. That collaboration does not replace overall construction management, but it gives the trim work the conditions it needs to look deliberate before the paint stage begins.
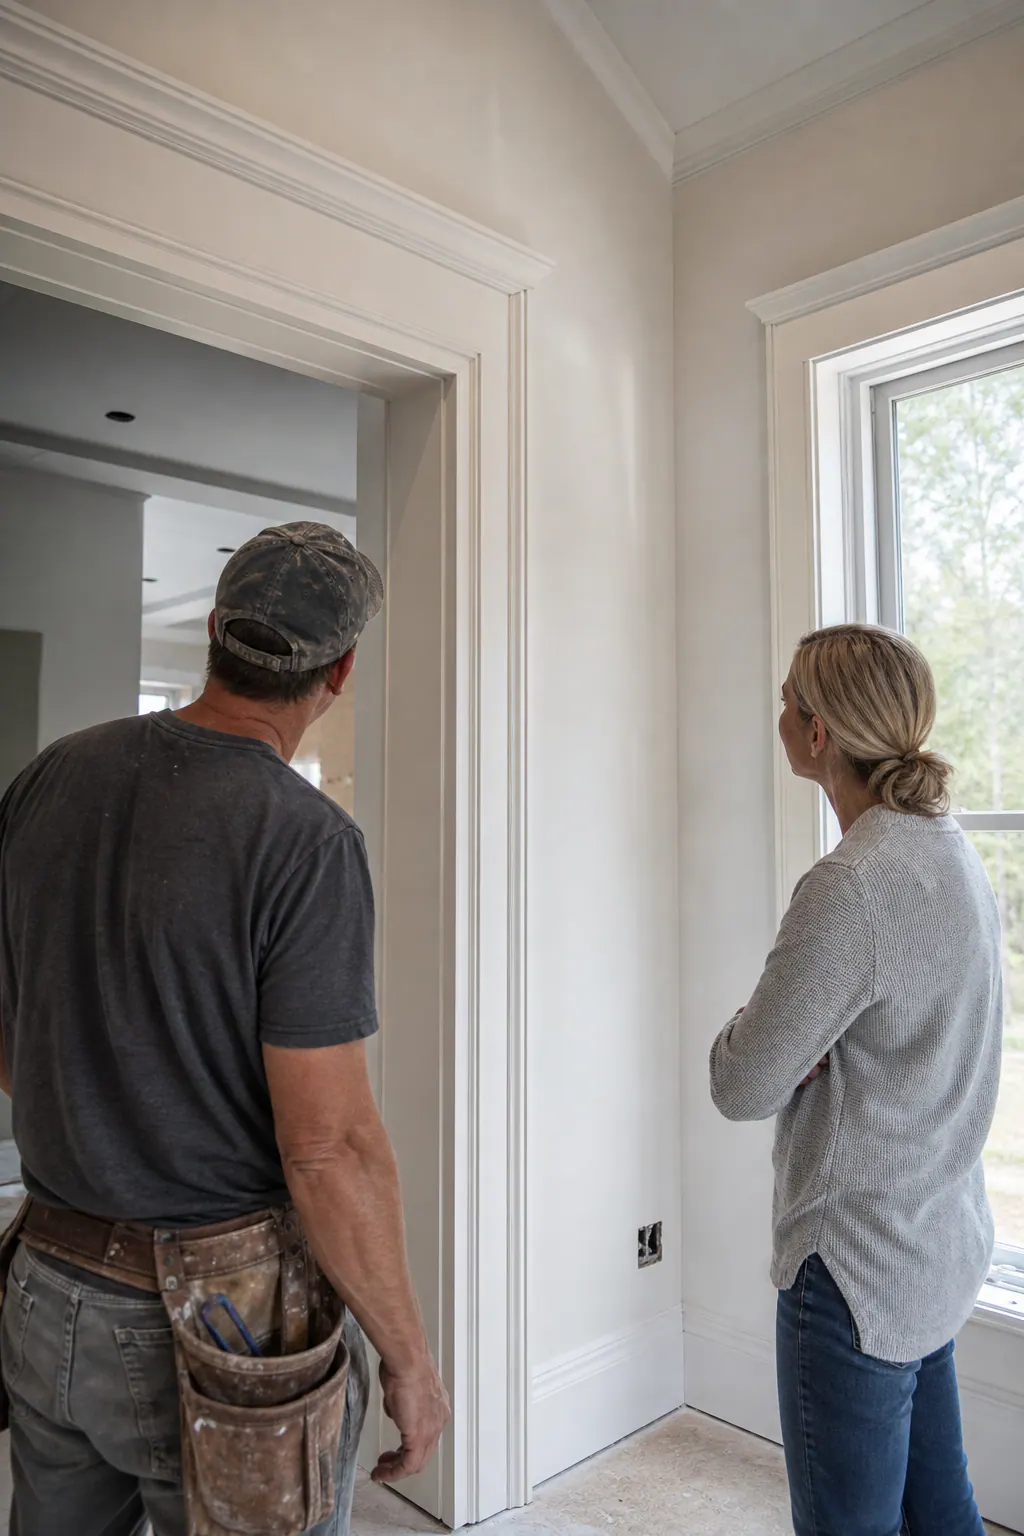
Before primer and finish coats reduce contrast, a pre-paint trim walkthrough gives the owner, builder or project manager, and finish carpenter a clear look at the work in bare material. It is the practical moment to separate small paint-prep items from corrections that need carpentry attention, such as a proud joint, chipped casing edge, or baseboard that has drifted out of line.
A useful pre-paint trim walkthrough follows the rooms systematically and records each item by location. The goal is not to hunt for theoretical perfection in every wall; it is to identify visible details that can still be adjusted cleanly before paint makes the work harder to assess and touch up.
The new construction punch list for trim should identify the condition, room, and responsible party rather than simply labeling an item “fix.” The finish carpenter addresses trim-related fitting, replacement, fastening, and unfinished-detail items; the builder or project manager coordinates issues created by another trade and tracks the handoff through completion. A final recheck confirms that listed trim corrections were completed before the paint sequence moves forward.
This focused review supports the broader project closeout process, but it does not replace builder inspections, municipal inspections, final acceptance procedures, or the terms of the construction contract.
Two homes with the same square footage can require very different trim budgets and installation windows. A written estimate for a new construction trim package should separate material choices, installation labor, paint-ready preparation, and any coordination or return work so the scope is clear.
Labor grows with the number of door and window openings, interior doors, ceiling height, and room geometry. Tall ceilings can require more handling and access work; stairwells, angled walls, curved areas, and tight built-ins create more fitting and cutting than long, open runs. Larger or more detailed profiles also use more material and demand more careful joints than a simple baseboard and casing selection.
Specialty wall treatments, wrapped beams, ceiling details, and custom transitions are upgrades because they add layout, materials, and finish carpentry time beyond the core trim. Field conditions matter too: bowed walls, out-of-square openings, incomplete drywall, or unresolved cabinet and flooring transitions can require correction or a coordinated return visit.
Scheduling is most predictable when profiles, materials, door details, and paint-prep expectations are chosen early and the home is ready for the agreed sequence. Changes after ordering or installation, such as adding a feature wall, changing casing widths, or revising door selections, should be treated as change orders with a defined effect on cost and timing. Clear decisions keep new home trim work aligned with the build rather than turning finish details into late-stage surprises.
Bring the plans, finish schedule, room count, selected doors and flooring details, and target paint date to the first trim conversation. Those inputs turn broad preferences, such as wider casing in public rooms or simpler trim in secondary spaces, into a workable scope with clear material, installation, and coordination responsibilities.
Homeowners, owner-builders, and builders can request a customized new construction trim scope that addresses installation, communication with the project team, a pre-paint walkthrough, and targeted trim punch-list work. It is also the right time to identify details that need special attention, such as a casing meeting a cabinet, a baseboard ending at a stair, or a feature wall that must align with adjacent openings.
Share the current build schedule and the conditions expected before paint so the finish-carpentry work can be planned around actual readiness. A focused conversation early in the finish stage helps keep the final review centered on visible details that are ready to correct, not late decisions that disrupt the sequence.
Compare the broader New Construction Trim Packages service.
When you are ready, request a free estimate with the rooms, trim goals, city, and available photos.
A new construction trim package can include baseboards, door and window casing, jamb extensions, stop material, cased-opening trim, and transition details at cabinets, stairs, tile, and flooring. Upgrades may include crown molding, wainscoting, wall paneling, built-up headers, beam treatments, and feature walls.
Trim should be installed after drywall is complete, major rough work is finished, and door and window openings are reasonably stable. Flooring heights, cabinet locations, tile edges, and selected trim profiles should be coordinated before casing and baseboards are fitted.
Choose trim proportions based on ceiling height, room size, and the scale of doors and windows. Taller rooms and substantial openings can support deeper baseboards and wider casing, while low-ceilinged rooms and slim openings typically look better with simpler, narrower profiles.
Check baseboards and casing for straight alignment, consistent reveals, clean miter joints, damaged faces, exposed nail holes, incomplete returns, and open joints. Also inspect gaps at walls, jambs, cabinets, tile, and flooring, then operate interior doors to identify rubbing casing or hardware-clearance problems.
Cost depends on material profiles, the number of doors and windows, ceiling height, room geometry, and specialty details such as wall paneling, wrapped beams, and ceiling treatments. Bowed walls, out-of-square openings, incomplete drywall, cabinet conflicts, and changes after ordering can add labor, return visits, and change-order costs.
Tell us which rooms or trim details you want to improve, and we will shape the estimate conversation around the work.